Teacher Organization: The Binder System

Finding an organizational system that works for YOU is gold!
It can take years experimenting with different classroom organizational systems until you find the best fit for you.
There will always be some tweaking but once you find something that feels good to you, STICK WITH IT!!
That's what I did...welcome to the Binder System that I used for a decade as a first grade teacher.

The Binder Basics
Ok, let me explain how this all works and then I’ll get into the reasons why it’s so awesome :)
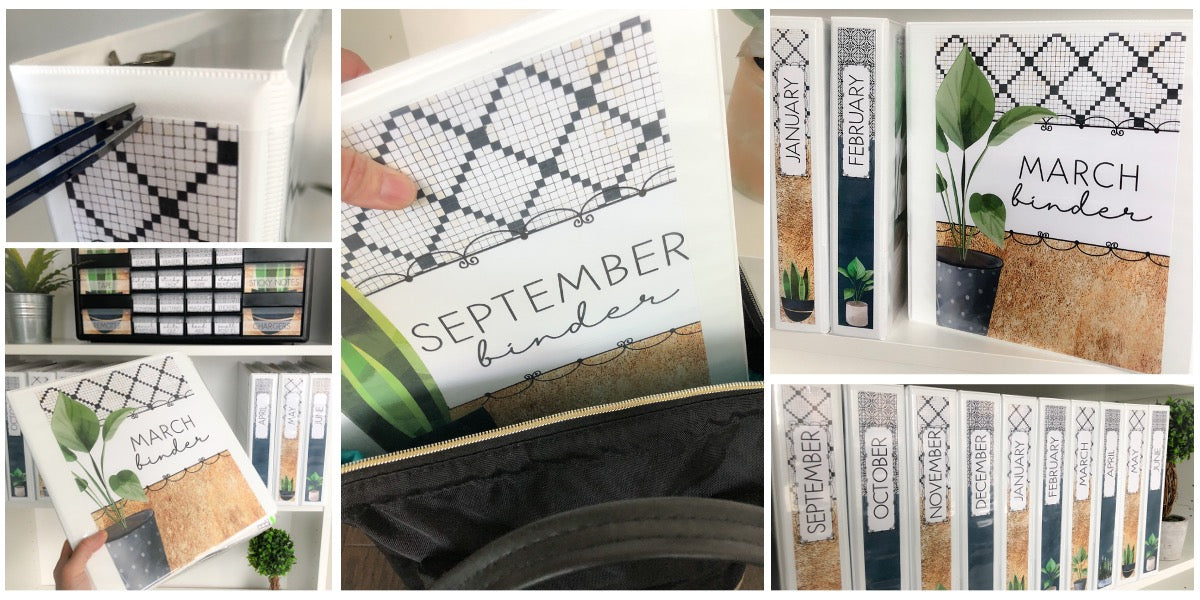
It’s pretty simple: all original copies of your teaching resources are placed in page protectors inside binders.
You can organize the binders in any way that suits you but I HIGHLY RECOMMEND considering monthly binders.
I originally created binders based on subjects areas and it just didn’t work for me.
The MAGIC happened with the switch to MONTHLY binders!
There was no longer a need to pull out several binders when planning or making photocopies.

Nope! ONE binder was all I needed to tote around for the month.
Planning became SO much easier since I’d just flip through the binder and select the activities.
Getting Started with Monthly Binders
The beauty of this system is that you can build it as you go. You can start switching over to it at any time.
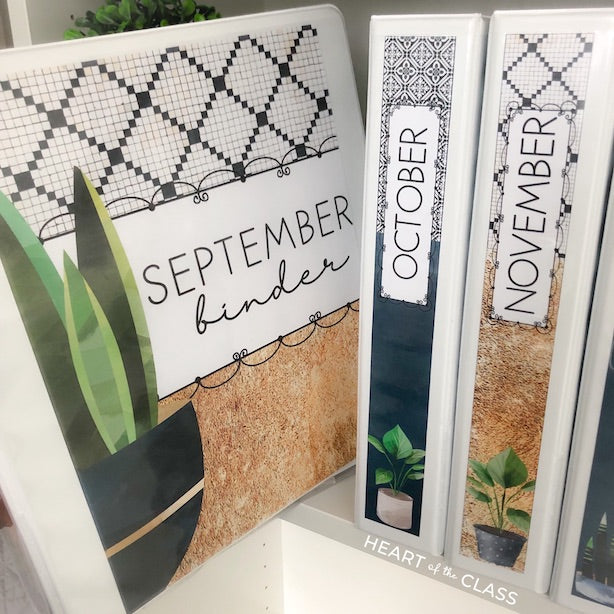
You’ll just need binders (1 for each month of the school year), a large box of plastic page protectors, and some binder covers and spine labels.
I have several styles in my shop that are editable and can make this an easy process or you can get creative and create your own!
Binder size will be up to you but I’ve found 1.5 inch binders to be the sweet spot! They hold A LOT of page protectors but are still portable.

If you really need the extra space, you can go with the 2 inch size. Bonus is you’ll get a little arm workout while toting it around!
One piece of advice: it’s worth it to purchase quality page protectors if you plan to stick with this system. I’ve personally been happy with the Staples brand.
Start Filing!
Once you have your binder filled with page protectors, you’re ready to begin!
EACH TIME you make copies of an activity for the class, pop the original in a page protector. Remember to place them back to back to maximize space.
If an activity has multiple pages, put them all in one protector.
TIP: USE A YELLOW HIGHLIGHTER TO WRITE AN ‘O’ ON YOUR ORIGINAL COPIES!!

Why?! It will save you from accidentally handing out your last copy and scrambling to remember where you originally found the activity!
The yellow highlighter doesn’t show up when you make copies BUT you’ll likely notice it if you try to give it to a student!
A Fresh Start
You might be thinking about getting started by moving ALL of your resources from your current filing system straight into binders.
You can start this way buuuuuuut here’s why it might not be the best idea.

We are teachers and we have a tendency to collect ALL. THE. TEACHING. THINGS. Just in case...right?!
Our files can quickly pile up with resources that we haven’t used in years or inherited with our classroom.
Take this as a FRESH START! Only transfer items that you truly want to use going forward.
Less is More
The best way to make decisions about what to keep is based on what you ACTUALLY use. Not what you MIGHT use SOMEDAY ;)
Once you’ve completed the year and filled your binders, you can take some time to sort through the resources that didn’t make it into your binders.
Keep your trusty recycling bin close by and fill ‘er up!!!

Less is actually more! Keep the resources that are effective and relevant and get rid of the rest. You’ll thank yourself next time you sit down to plan.
It’s the same idea as removing the clothing that you no longer wear from your closet. It feels light & airy and you surprisingly feel like you have more options.
Not to mention it takes way less time to choose what to wear. Same idea for your teaching resources!
So why is it so awesome?
Now that you know how the binder system works, you might be wondering if it’s a good fit for your classroom.
Organization is always a personal thing and you need to find what works for YOU!
Here area few reasons why binders became my go to:
Portability
Before the binder system, I’d have to grab several binders and files when planning. With the monthly binders, I grab ONE binder and go.
It makes photocopying a breeze too. As you copy, file the original back in the binder and flip to the next page you need to copy.
While we try to do all planning at school, there are times when it doesn’t happen. So you can easily take the binder home and have everything you need.

I’ve often brought my January and September binders home over the holidays to get a jump on planning.
Special note: During COVID, we were told to be ready to switch back and forth between in-person and virtual teaching. There’s peace of mind when you have everything in ONE binder that you can grab. I actually kept my binders in the trunk of my car so I’d always have them with me!!
You just never know what you’ll find in the trunk of a teacher's car ;)
Consistency
If you already use binders for things like assessment data and lesson planning, this will keep things consistent.
At one time I remember having resources in a filing cabinet, some in scrapbook style plastic bins, and some in binders.
Way too much time wasted checking 3 locations trying to find ONE item!

When everything is stored in binders, you have one place to go. AND when they’re all beautifully labelled, it becomes a HAPPY PLACE!!
How awesome is it to see your curriculum for the year nicely organized on one shelf? I GOT THIS you think to yourself.. or maybe that’s just me?!

Simplicity
The best organizational systems have one thing in common: they are simple to MAINTAIN!
How many times do we end up with papers everywhere because we didn’t have time to put them away? OR we weren’t sure where to put them?

Reality is that days in the classroom are BUSY so we need to make it easy and convenient.
When you only have ONE place to file teaching resources and it’s as easy as sliding it in a page protector, the chances are higher that you’ll follow through!
No Forgotten Activities
Have you ever happened upon an awesome pumpkin activity in February and were bummed that you didn’t see it back in OCTOBER?!?
That’s possibly the biggest reason I LOVE this system! You won’t miss those opportunities.

As a visual person, there’s joy in opening up a new month and flipping through the pages. Oh, I totally forgot about this activity!
Good thing is you’ll actually see it in time to actually use it with your kiddos!
I should note here that my year is planned around themes so that fits especially well with this binder system.
Those Unexpected Emergencies
It’s not a fun topic but we know that emergencies happen and we’re often left scrambling to put plans together.

If you end up being out for longer than expected, it’s comforting to know that you can direct your substitute teacher to your monthly binder.
One Last Tip: Tweezers!
TWEEZERS?!

Yes, tweezers! If you’ve struggled to switch out binder spines before and ended up ripping the plastic cover, tweezers are your answer!

Ready to give it a try?
If you like the binders I’ve shared here, you can grab them from my shop and start printing and organizing!
They’re EDITABLE so you can customize to meet your classroom needs.
One last piece of advice: be patient with yourself as you transition to a new organizational system.
Building new habits takes time.
Stick with it and you’ll start to feel the ease that comes with having an effective system.
Happy organizing!


