Classroom Flip Calendar Tutorial
Create your own classroom flip calendar by following the simple steps below!
FLIP CALENDAR MATERIALS
Here are the links to the materials I used for the flip calendars:
You will also need a pair of scissors and a single hole punch.
STEP 1: PRINT YOUR FLIP CALENDAR CARDS
If you have not chosen a flip calendar design yet, you can see the collection of classroom flip calendars here.
Once you have downloaded your flip calendar resource, open the PDF file in Adobe Reader and print the pages you need.
Print on 65 lb white card stock for durability.
Cut out all individual cards. Laminating is optional.
STEP 2: PUNCH HOLES
Take your time with this step! Punching the holes correctly will ensure your calendar cards hang evenly.
My flip calendars include punch guides so be sure to print that page!
Cut out the 3 punch guide cards and punch holes as marked.

Carefully stack and align 2 or 3 calendar cards with the punch guide on top and punch holes.
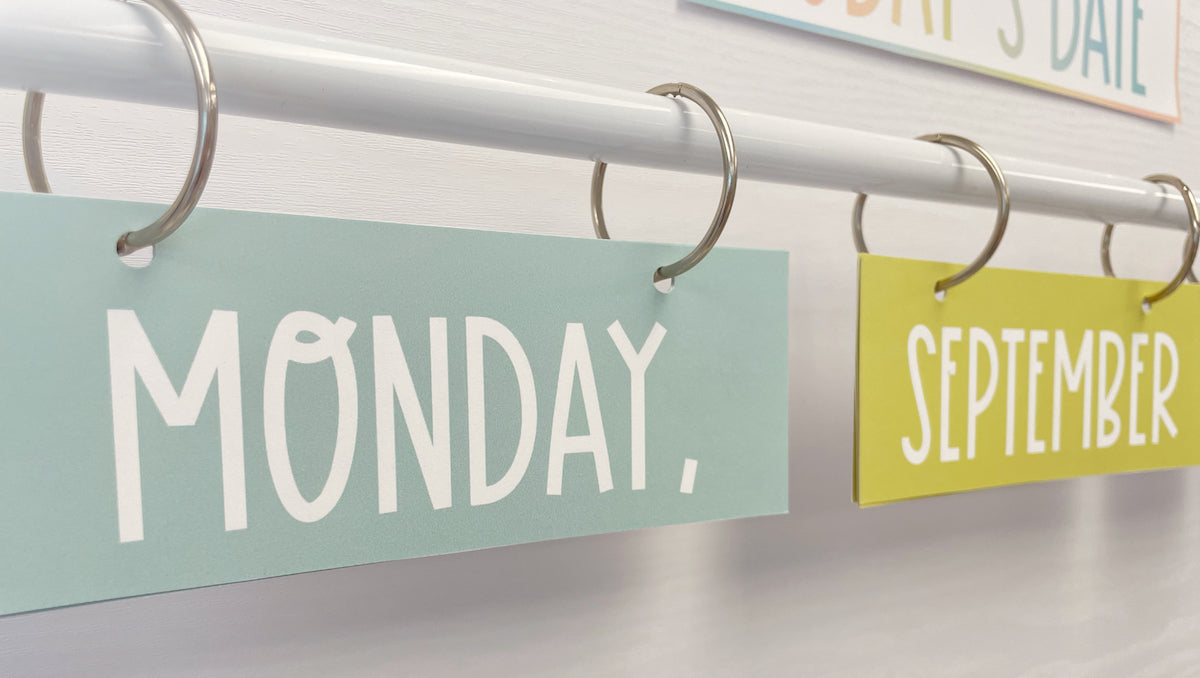
STEP 3: ATTACH CARDS TO ROD
Stack each set of cards in order and attach to magnetic rod using binder rings.

I used 1.5" rings but larger rings would be better for laminated cards because of the additional thickness.
STEP 4: TITLE & SPECIAL DAYS CARDS
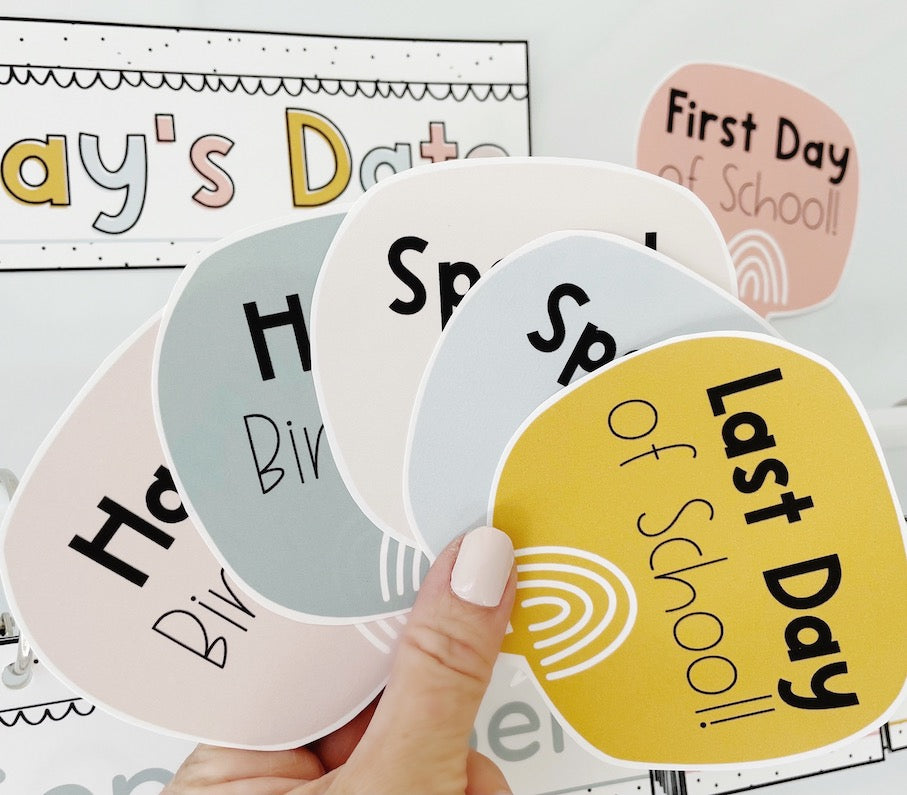
Add the finishing touches with the Today's Date title and keep the Special Days cards handy for those special occasions.
Flip your cards to today's date and you're done!